How to Prepare for a Professional Cabinet Painting Project

Starting a cabinet painting project can feel overwhelming when you’re not sure what’s expected before work begins. Many homeowners worry about mess, downtime, and whether they’re doing the right things to prepare their space.
That uncertainty is completely normal. Cabinets are a central part of daily life, and having them painted affects how you cook, clean, and move through your home. Without clear expectations, even a professional project can feel more disruptive than it needs to be.
Preparation plays a big role in how smoothly everything goes. When decisions are made early and the space is properly set up, painters can work more efficiently and with fewer interruptions. This helps protect your schedule, your home, and the final finish.
This guide walks through what homeowners need to know and do before a cabinet painting project begins. It covers what to expect, which decisions to make early, and how to prepare your home so the process runs smoothly. By the end, you’ll have a clear picture of how to get ready with less stress and more confidence.
Understanding the Professional Cabinet Painting Process
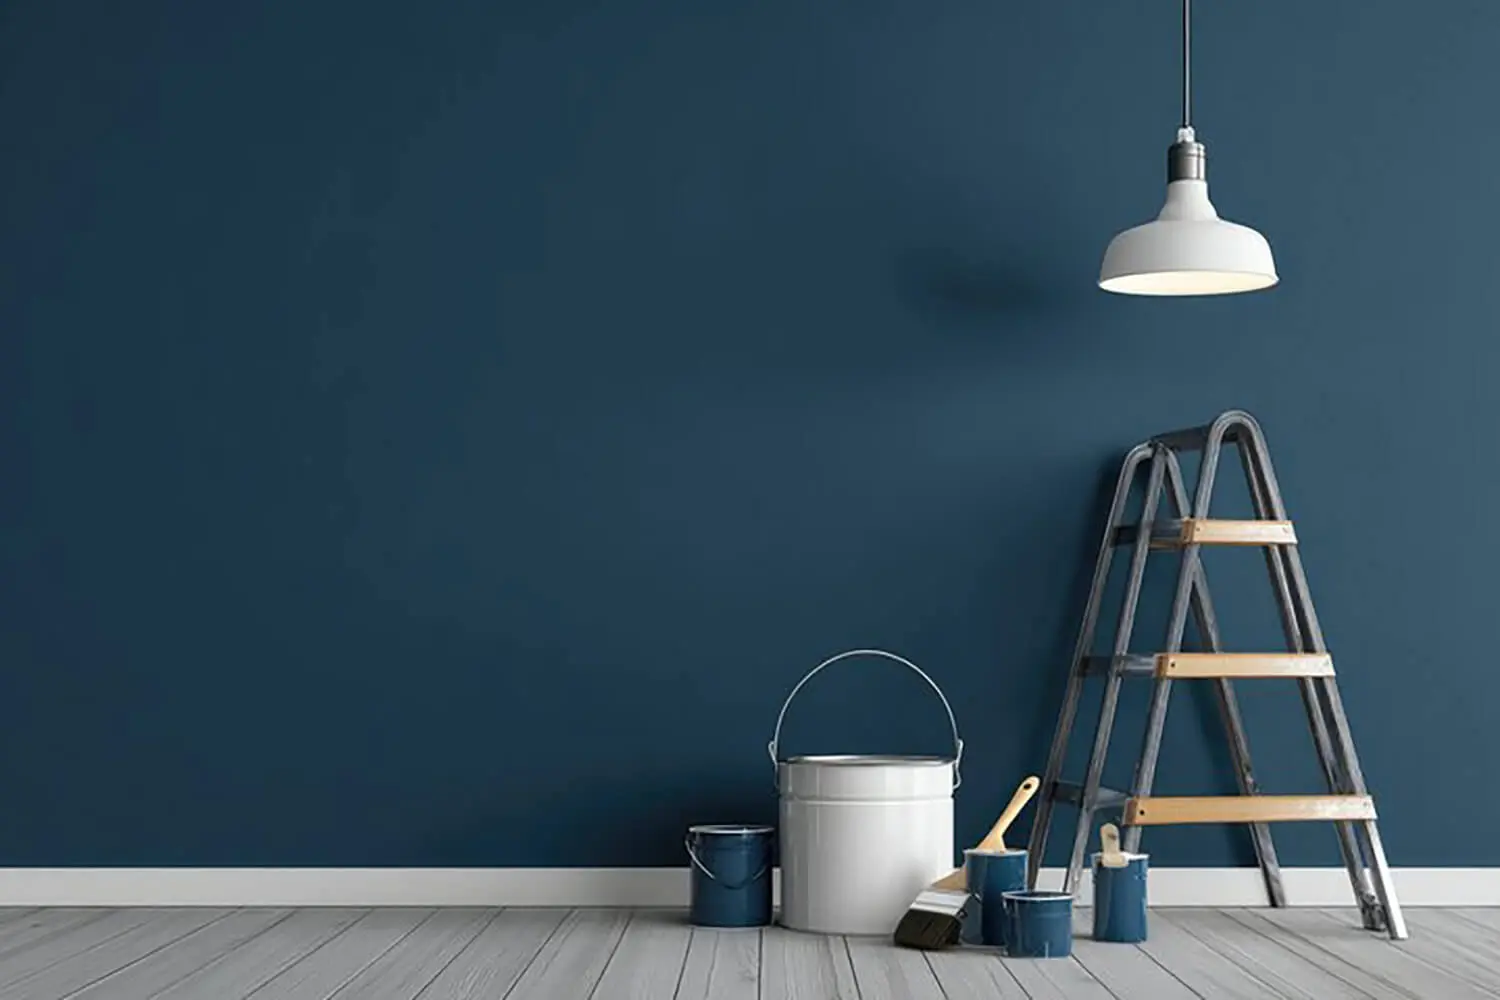
Learning how to prepare for a professional cabinet painting project is a detailed, multi-step process designed to deliver a smooth, durable finish. It typically includes surface preparation, priming, painting, and curing, all done using professional-grade materials and techniques.
Unlike basic wall painting, cabinets require extra attention because they’re handled daily and exposed to moisture, grease, and temperature changes. Each step in the process is meant to help the finish hold up under regular use, not just look good on day one.
This process is different from DIY cabinet painting in several important ways. Professionals focus heavily on prep work, use specialized coatings, and apply finishes in controlled conditions. These steps help prevent brush marks, uneven color, and premature wear.
Most professional cabinet painting projects follow a similar workflow:
- Cleaning and degreasing surfaces to remove buildup
- Sanding or deglossing to create proper adhesion
- Applying primer suited to the cabinet material
- Painting using spray or brush techniques based on the project
- Allowing proper drying and curing time before reinstallation
Painters usually handle technical tasks such as surface sanding, priming, spray vs brush applications, and reinstalling cabinet components. Homeowners are generally responsible for clearing the space, making design decisions, and preparing the home for access.
It’s also important to set realistic expectations early. Cabinet painting takes time, creates temporary disruption, and requires patience during drying and curing. Understanding the process upfront helps homeowners feel more comfortable and confident once work begins.
Key Decisions to Make Before Any Preparation Begins
Before any physical preparation starts, several key decisions need to be finalized. These choices guide the entire project and help prevent delays or changes once painting is underway.
Some of the most important decisions to make early include:
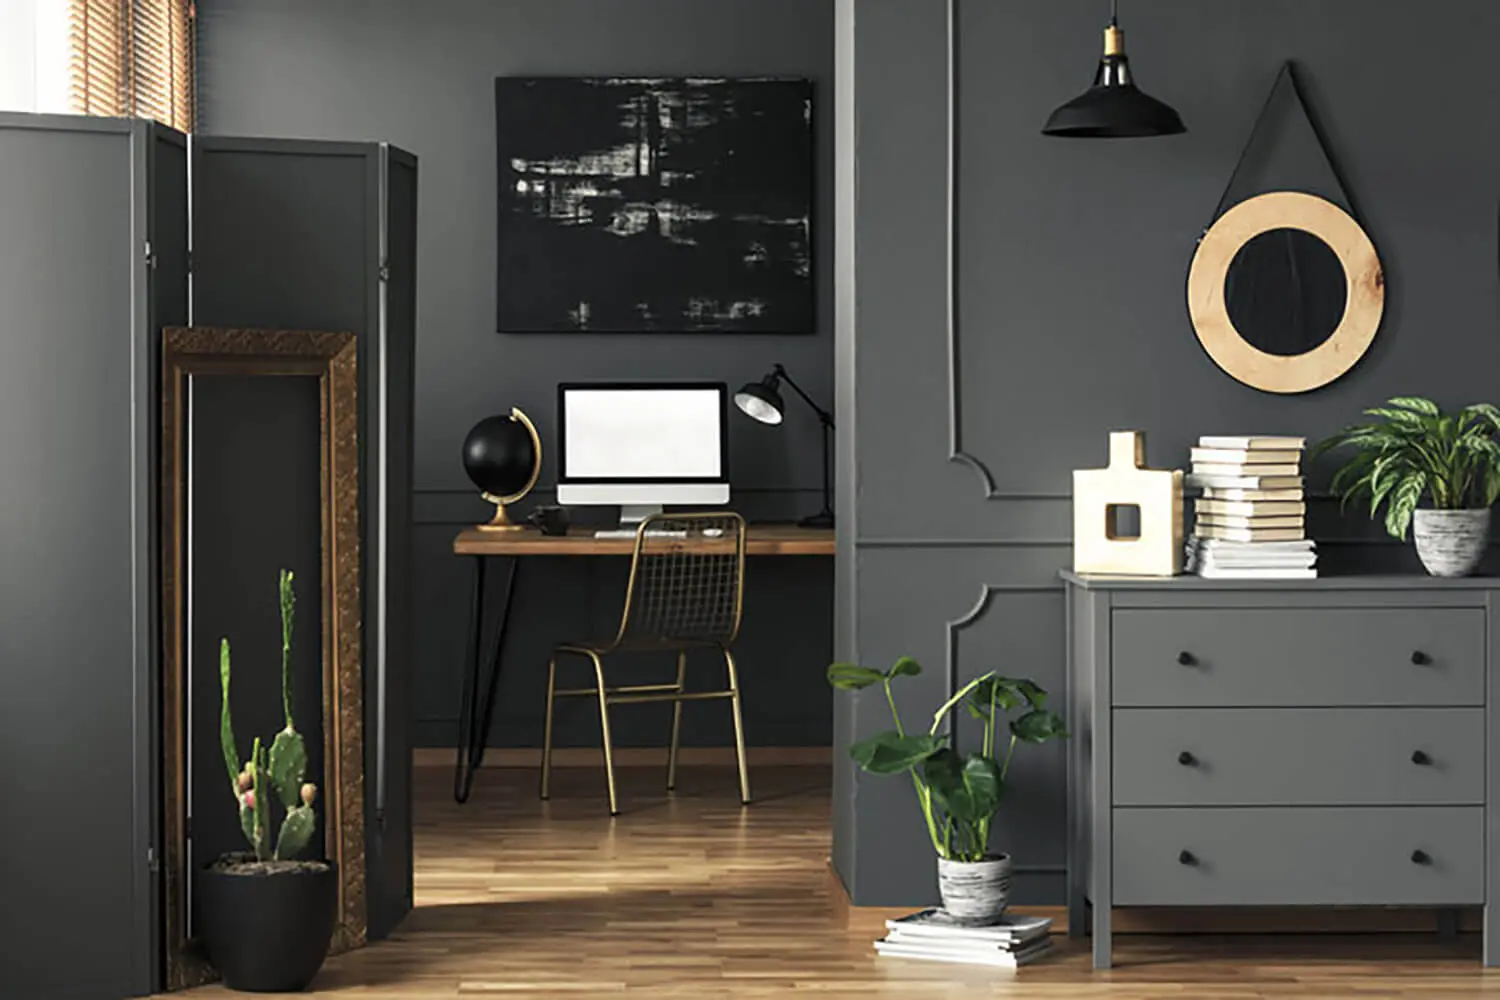
- Paint color – Homeowners should consider how the cabinet color will work with countertops, flooring, and wall colors. Lighting also plays a role, as it can affect how the final color appears throughout the day.
- Sheen level – Sheen impacts both appearance and maintenance. Some finishes highlight details, while others help hide minor imperfections. The right choice depends on personal preference and how the kitchen is used.
- Finish style – Homeowners should understand the difference between smooth finishes and finishes that show some wood grain. A smoother look often requires more prep work, while visible grain can create a more natural appearance.
- Cabinet hardware – Homeowners should decide whether existing knobs, pulls, and hinges will be reused or replaced. If new hardware is planned, it should be selected and ordered early so it’s ready for reinstallation and doesn’t delay the project.
- Samples or test areas – If samples or test areas are offered, reviewing them carefully is essential. Once choices are locked in, it’s best to avoid changes mid-project, as last-minute adjustments can affect scheduling and results.
What to Expect for Timeline, Access, and Daily Life
Professional cabinet painting typically takes several days, depending on the size of the kitchen, the number of cabinets, and the level of preparation required. Larger kitchens or projects involving multiple coats, specialty finishes, or extended curing times may take longer.
It’s also common for the timeline to be broken into stages. Some days may involve heavier prep and painting work, while others focus on drying, curing, or reinstallation. Knowing this ahead of time helps homeowners understand when cabinets will be most impacted and plan accordingly.
During the project, cabinets may be unavailable for regular use at certain points. Homeowners should plan ahead for limited access to dishes, cookware, and pantry items, especially during active painting and early drying periods. Pulling out essentials in advance can help minimize inconvenience.
Painters will need clear access to the workspace throughout the project. This often includes:
- A designated entry point to limit foot traffic through the home
- Nearby parking for tools and materials
- Open floor space for equipment setup
Planning for access and timing ahead of time helps the project stay on schedule and reduces unexpected disruptions once work begins.
Clearing and Protecting the Kitchen and Surrounding Areas
Clearing the kitchen is one of the most important cabinet painting preparation steps. All items should be removed from cabinets and drawers before painters arrive.
Countertops and surrounding work areas should also be cleared. This gives painters room to work efficiently and reduces the risk of accidental damage.
Floors, appliances, and nearby rooms may need protection. While painters often cover work areas, homeowners can help by moving small appliances or décor out of the way.
Some homeowners find it helpful to set up a temporary kitchen or storage area. This might include using another room for small appliances, dishes, and food storage during the project.
Emptying Cabinets and Planning for Access
Organizing cabinet contents helps the project run smoothly from start to finish. Emptying cabinets and drawers ahead of time makes it easier for painters to work efficiently and reduces the chance of misplaced items.
Labeling boxes or shelves can also be helpful, especially in larger kitchens. This makes it easier to return everything to the correct cabinet once painting is complete.
Fragile or high-value items should be identified and relocated to a safe area outside the work zone. Doing this ahead of time helps protect personal belongings during the project.
Homeowners should also confirm whether cabinet doors and drawers will be removed on-site or taken off-site for painting. Knowing how this will be handled helps set expectations and plan around access while work is underway.
What to Expect While Cabinet Painting Is in Progress
Once painting begins, the focus shifts to managing the home while work is underway. Keeping pets and children away from the work area is important for both safety and efficiency, especially when tools, equipment, or wet surfaces are present.
Ventilation is another key consideration during the painting process. Painters may open windows, use fans, or set up ventilation systems to help manage odors and support proper drying. Homeowners can help by keeping airflow paths clear and avoiding closed-off spaces unless instructed otherwise.
Some level of noise and paint odor is normal during cabinet painting. These effects are usually temporary and vary by day depending on the work being done. Knowing what to expect can make the experience feel more manageable and less disruptive.
Communication also plays a role in keeping the project on track. If questions or concerns come up, it’s best to bring them up promptly rather than waiting. Clear, respectful communication allows painters to address issues quickly without interrupting the workflow or timeline.
Common Mistakes to Avoid During Cabinet Painting and Curing
When working with professional painters, there are a few common mistakes homeowners should avoid to help the project stay on track and achieve the best results.
- Cleaning cabinet surfaces before painting begins – Homeowners should avoid cleaning cabinet surfaces before painting. Professional painters handle all cabinet cleaning and surface preparation themselves, using products and methods designed to support proper adhesion and curing.
- Changing colors, finishes, or hardware mid-project – Adjusting these decisions once work has started often requires additional prep, rescheduling, or reordering materials. This can lead to delays, added costs, or inconsistencies in the final finish.
- Using cabinets before proper curing is complete – Even if cabinets feel dry to the touch, the paint may still be curing beneath the surface. Early use can cause dents, sticking doors, or visible marks that require repairs.
- Interfering with the professional process – Trusting painters to follow their established system allows the work to move forward efficiently and helps ensure the best possible outcome.
Why Proper Preparation Leads to Better Results
When homeowners prepare properly, painters can focus fully on delivering high-quality work. Clear spaces, organized access, and finalized decisions allow for smoother application and more consistent finishes from start to finish.
Good preparation also helps reduce delays and errors. When painters aren’t working around clutter or waiting on last-minute choices, the project stays on schedule and requires fewer touch-ups. This creates a more predictable timeline and a cleaner overall process.
Over time, proper prep contributes to durability. Cabinets painted under the right conditions, like spray booth finishing, are more likely to resist chipping, peeling, and everyday wear.
Overall, preparation reinforces the value of working with professionals. It allows their skills and materials to deliver the best possible results.
Getting Ready for a Smooth Cabinet Painting Experience
Knowing how to prepare for a professional cabinet painting project doesn’t have to be complicated. When homeowners understand the process, make key decisions early, and plan ahead, the entire project tends to run more smoothly.
Clear communication, finalized choices, and thoughtful preparation help minimize disruption and reduce surprises along the way. These steps also allow painters to work more efficiently, which supports better-looking results and a more predictable timeline.
Proper preparation plays a direct role in the finished outcome. Cabinets painted under the right conditions, with fewer interruptions, are more likely to look consistent and hold up well to everyday use. With the groundwork handled, homeowners can focus on the transformation and enjoy the results with confidence.
If you’re considering cabinet painting and want guidance every step of the way, a professional consultation is a great place to start. Pro Painters LTD can help you understand the process, finalize finishes, and plan preparation so your project runs smoothly. A simple conversation or estimate request can give you clarity on timing, expectations, and next steps, helping you move forward with confidence and less stress.